
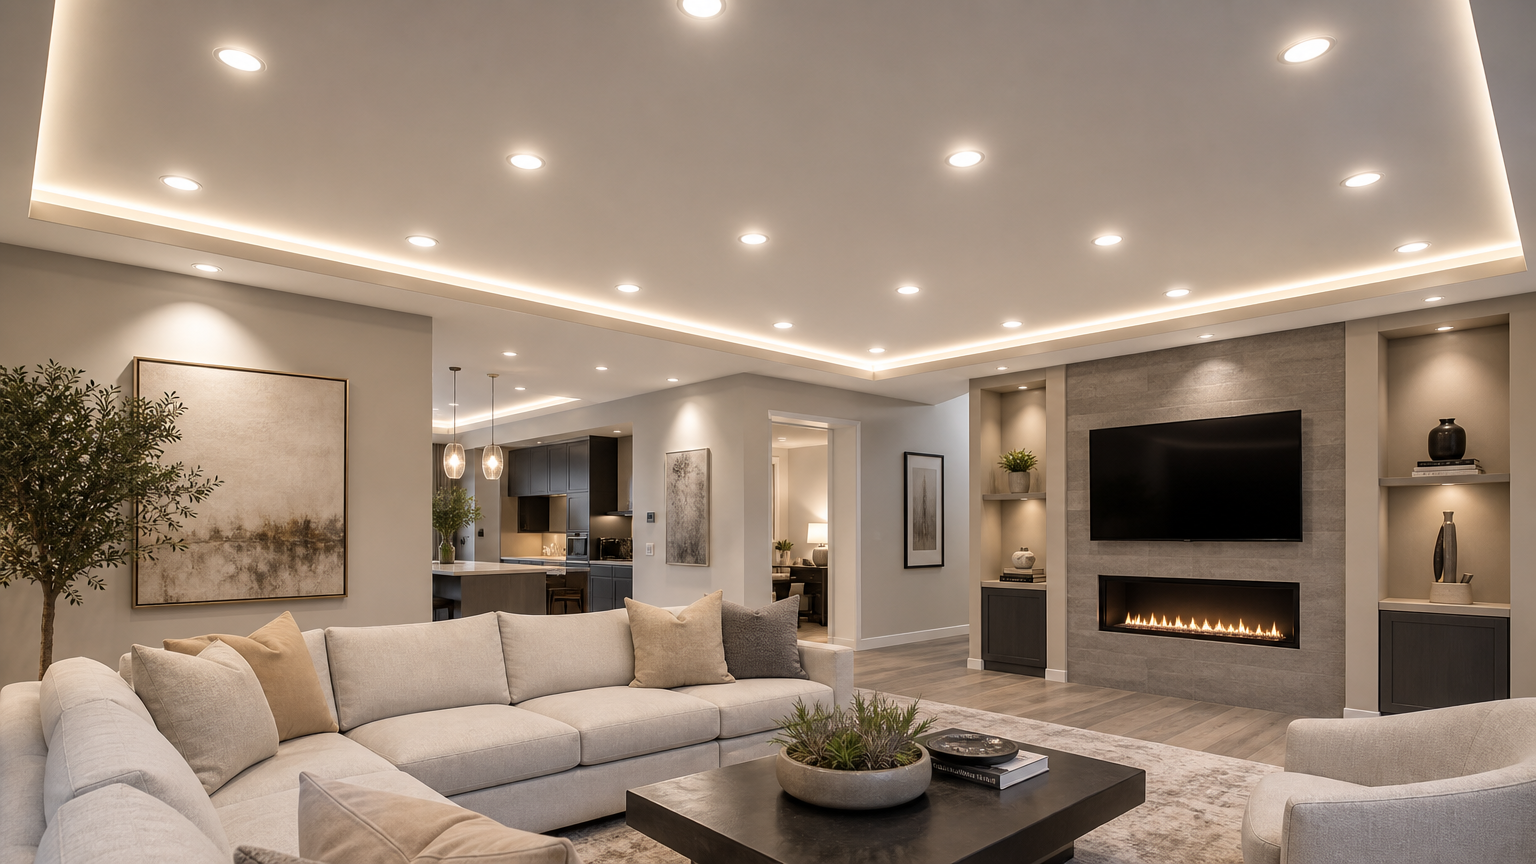
Good lighting changes how a room feels, and bad lighting is the first thing people notice without being able to say why. Pot lights are the most common upgrade we install, whether it is a few added to brighten a dim kitchen or living room, a set replaced after a ceiling is redone, or a full plan laid out for a renovation. We do this work across Winnipeg and the Interlake, and a lot of it comes through the higher-end renovations we wire, including work for the designer Charisma.
The craft in pot lights is in the layout and the clean install. Spacing them right, keeping them square to the room, cutting tidy holes in an existing ceiling, and getting them on the right switching and dimming so the room actually works the way you use it.
In a finished room, we install retrofit pot lights by fishing wiring through the existing ceiling and cutting clean openings, with as little drywall repair as possible. In a renovation or a new build, we lay the lighting out from scratch as part of the wiring, which gives you the most freedom on placement, switching, and dimming. Either way we use LED fixtures, which run cool, last for years, and keep the load down.
There are a few choices that shape how a pot light job turns out, and we walk you through them before any cutting starts:
We also handle the switching and controls that make a lighting plan work, from simple dimmers to the kind of layered and automated lighting a designer might spec for a kitchen or living room. On larger projects this ties into the rest of the residential work on the home, which we do throughout Winnipeg and out toward Selkirk.
Replacing pot lights is its own job, and it usually comes up for one of a few reasons. Older recessed cans run hot, take bulbs that cost more to run than the fixture is worth, and often sit on a switch that was never meant to dim them. Swapping them for LED changes all three.
Stipple ceiling removal is the one that catches people out. If you are having a textured ceiling scraped, that is the moment to deal with the lighting, because the drywall work is already happening and the layout is not locked in by the old holes.
Lighting is finish work, and it shows. We take the time to lay it out properly and keep the install clean, the kind of work that holds up to a close look in renovations and custom homes. A tidy hole, a fixture that sits flush and square, and a ceiling that does not need a coat of paint to hide our work are the things that separate a real install from a rushed one. On a renovation it ties into the rest of the wiring work on the home, so the lighting is planned with everything else rather than added as an afterthought.
Almost always because the dimmer and the LED fixtures are not matched. LEDs draw very little power, and an older dimmer built for incandescent bulbs cannot regulate them smoothly, which shows up as flicker or buzz. We pair the fixtures with a compatible LED dimmer so they run smooth across the full range.
It depends on the size of the room, the ceiling height, and what the space is used for. The goal is even light without dark corners or a runway look, and we lay out the spacing to suit the room rather than a fixed number. We will give you a plan before we cut anything.
Yes. We retrofit recessed lights into existing ceilings by fishing the wiring and cutting clean openings, with minimal drywall repair. It is one of the most common lighting jobs we do.
Yes, and it is one of the more common calls we get. Depending on the size of the existing openings, we either fit an LED insert into the can you already have or replace the fixture outright. Either way the dimmer gets matched to the new lights so they run without flicker.
Yes. LED fixtures use a fraction of the power, run cool, and last for years before they need attention, which matters when a room has six or eight of them. They also dim well when paired with the right switch.
If you want better lighting in a room or a full plan for a renovation, get in touch for a free estimate.
Monday – Sunday: 24/7